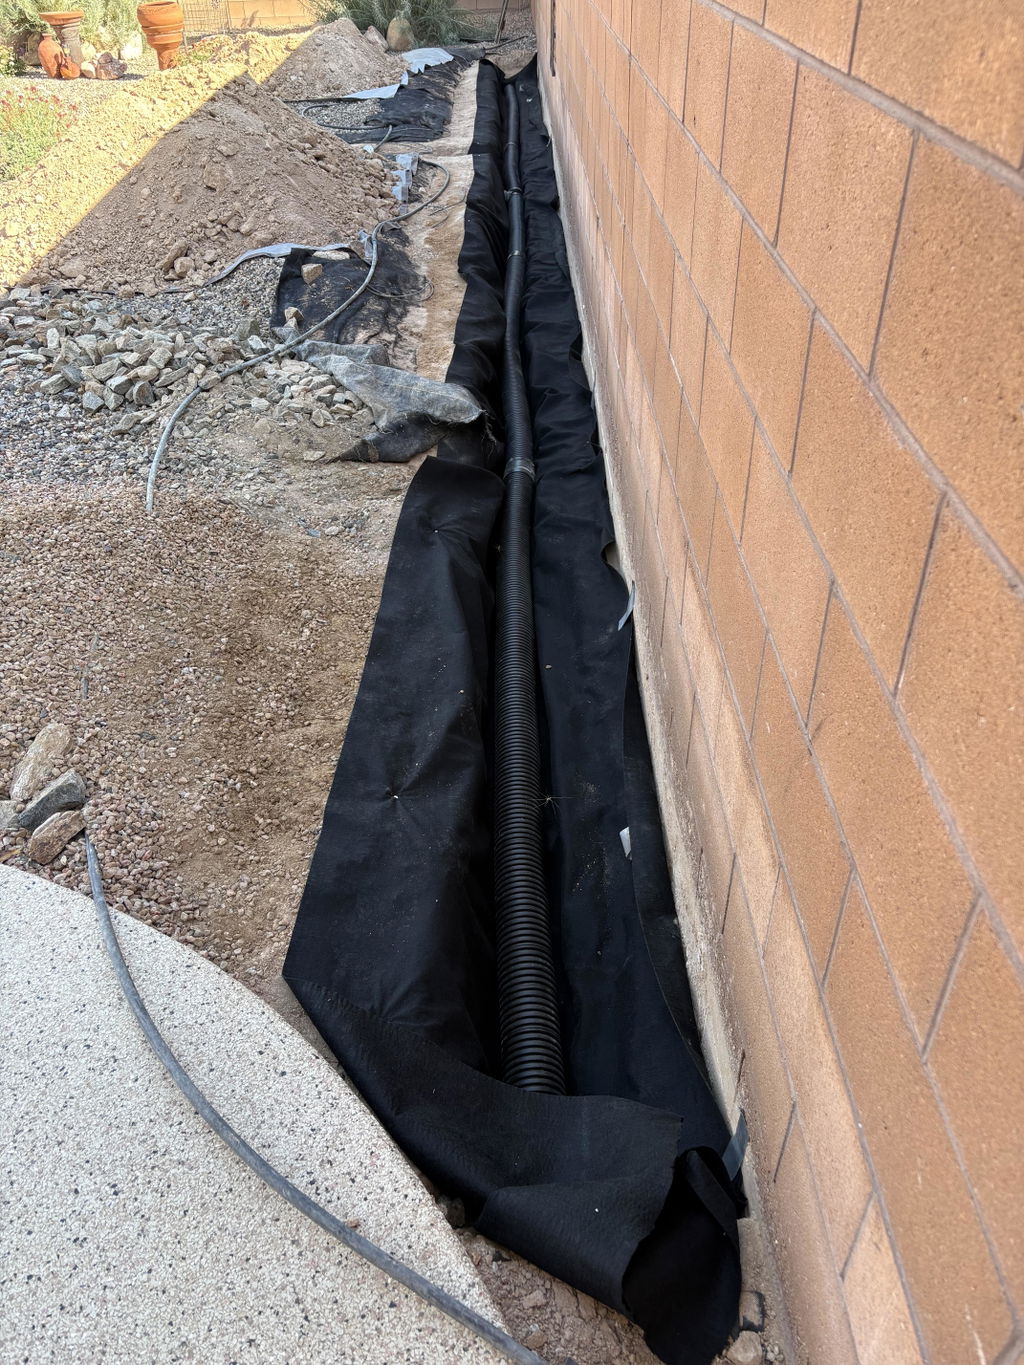
A good weed barrier can cut your weeding way down. A thin one, or a sloppy install, can mean weeds poking through within a season. Here is how to do it right.
Pick the right fabric
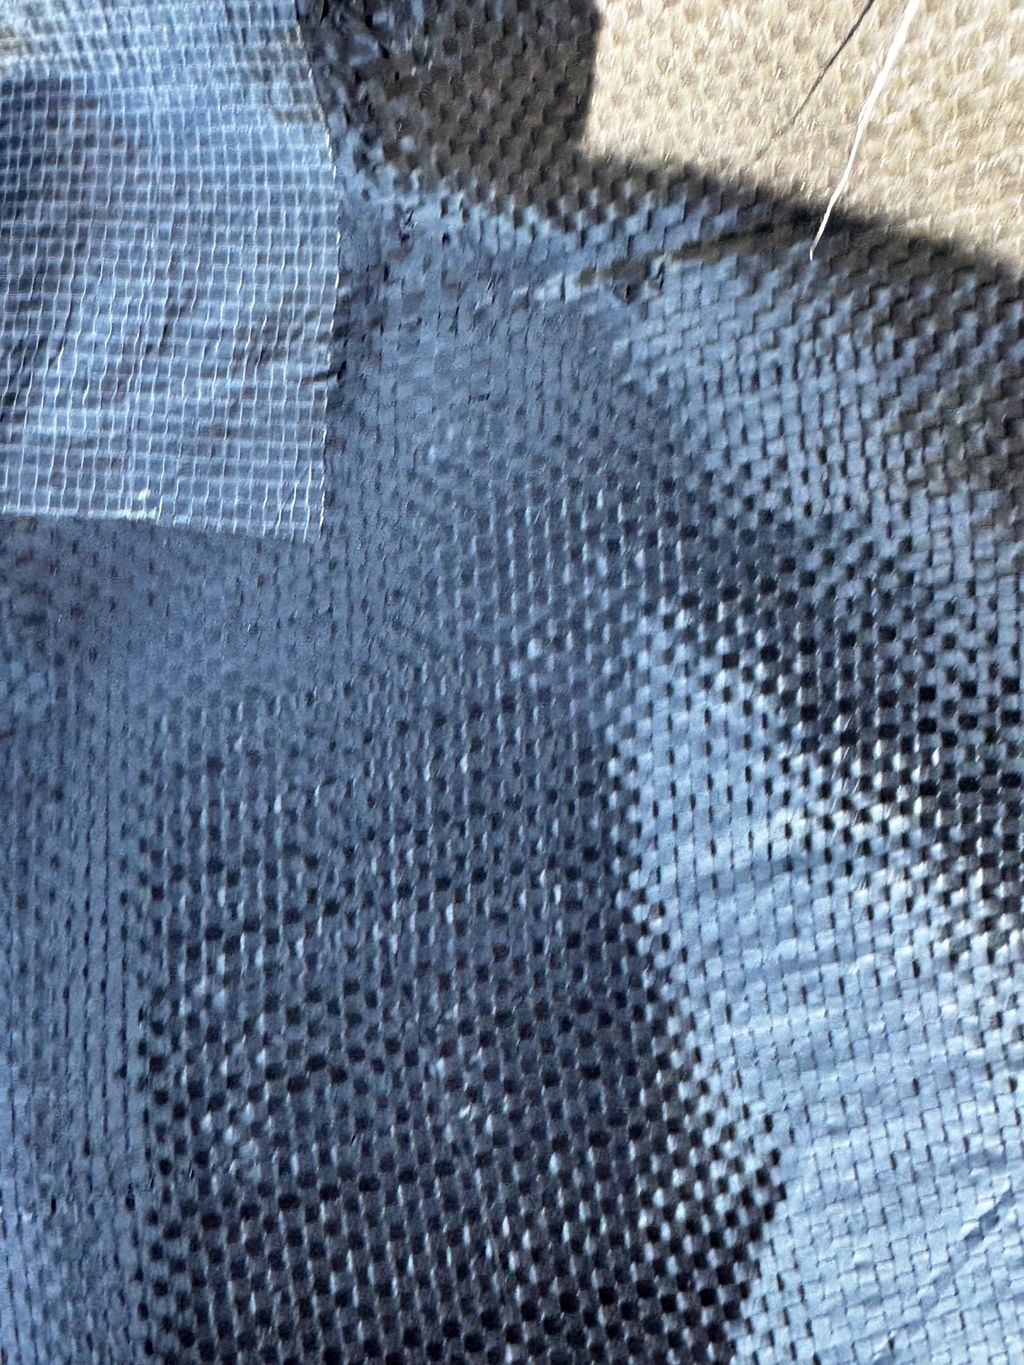
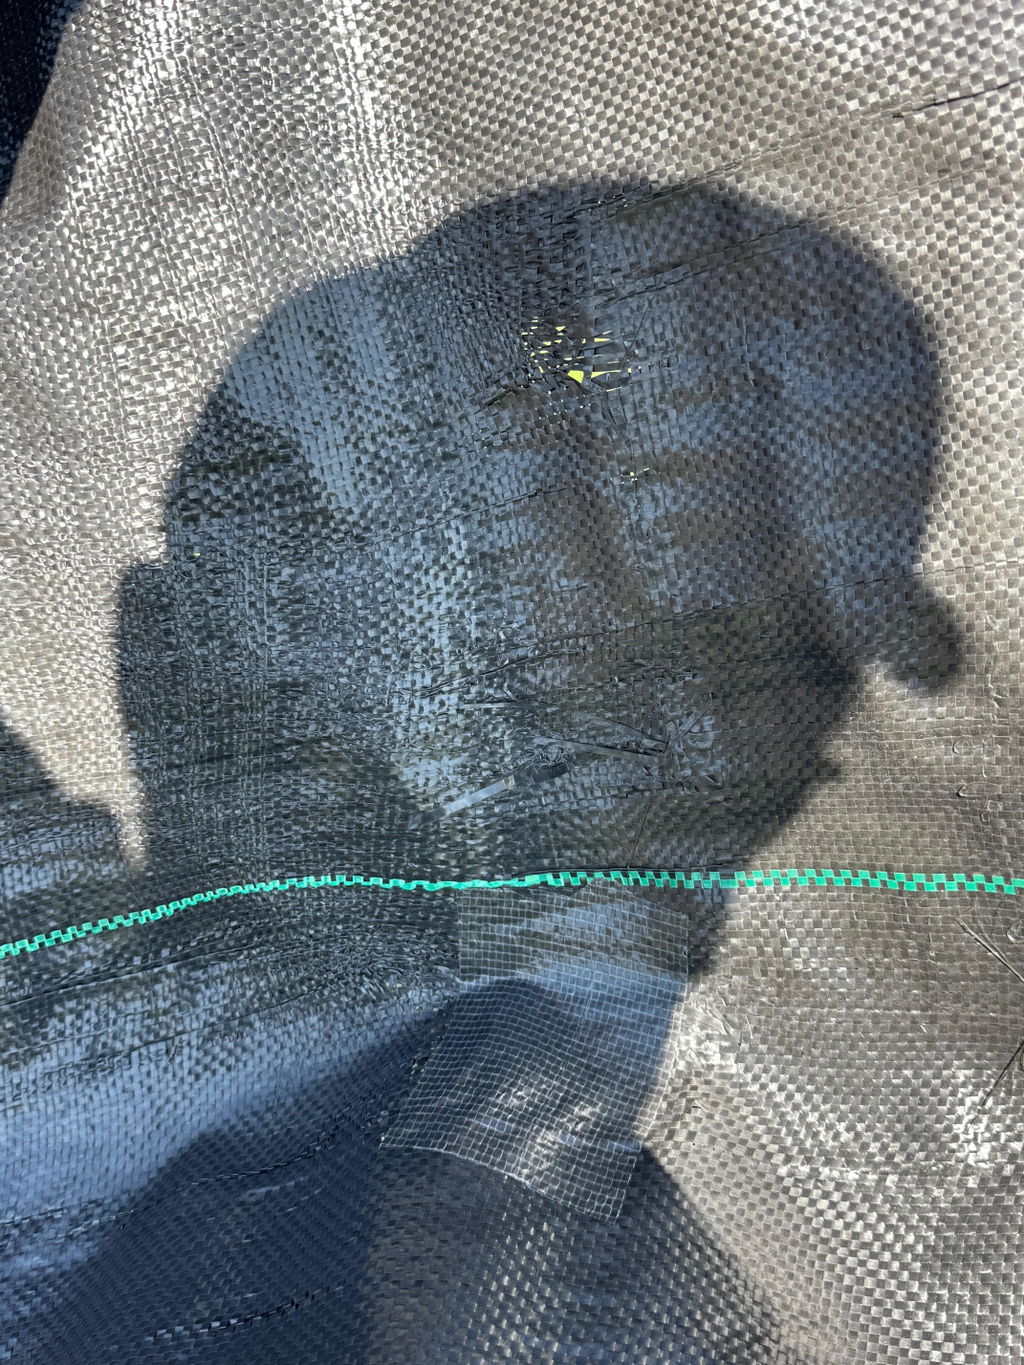
Thin fabric from big box stores tears easily and lets weeds push through. Super Geotextile Pro Grade 5 oz weed barrier is a heavier woven fabric that lets water through (10 gal/min/ft²) so your plants still get rain, while blocking the sunlight weed seeds need to grow.
Step by step
- Clear the bed. Pull existing weeds, roots included, and rake the soil smooth. Remove sharp rocks and sticks.
- Add amendments now. Mix in compost or fertilizer before the fabric goes down. It is much harder to do later.
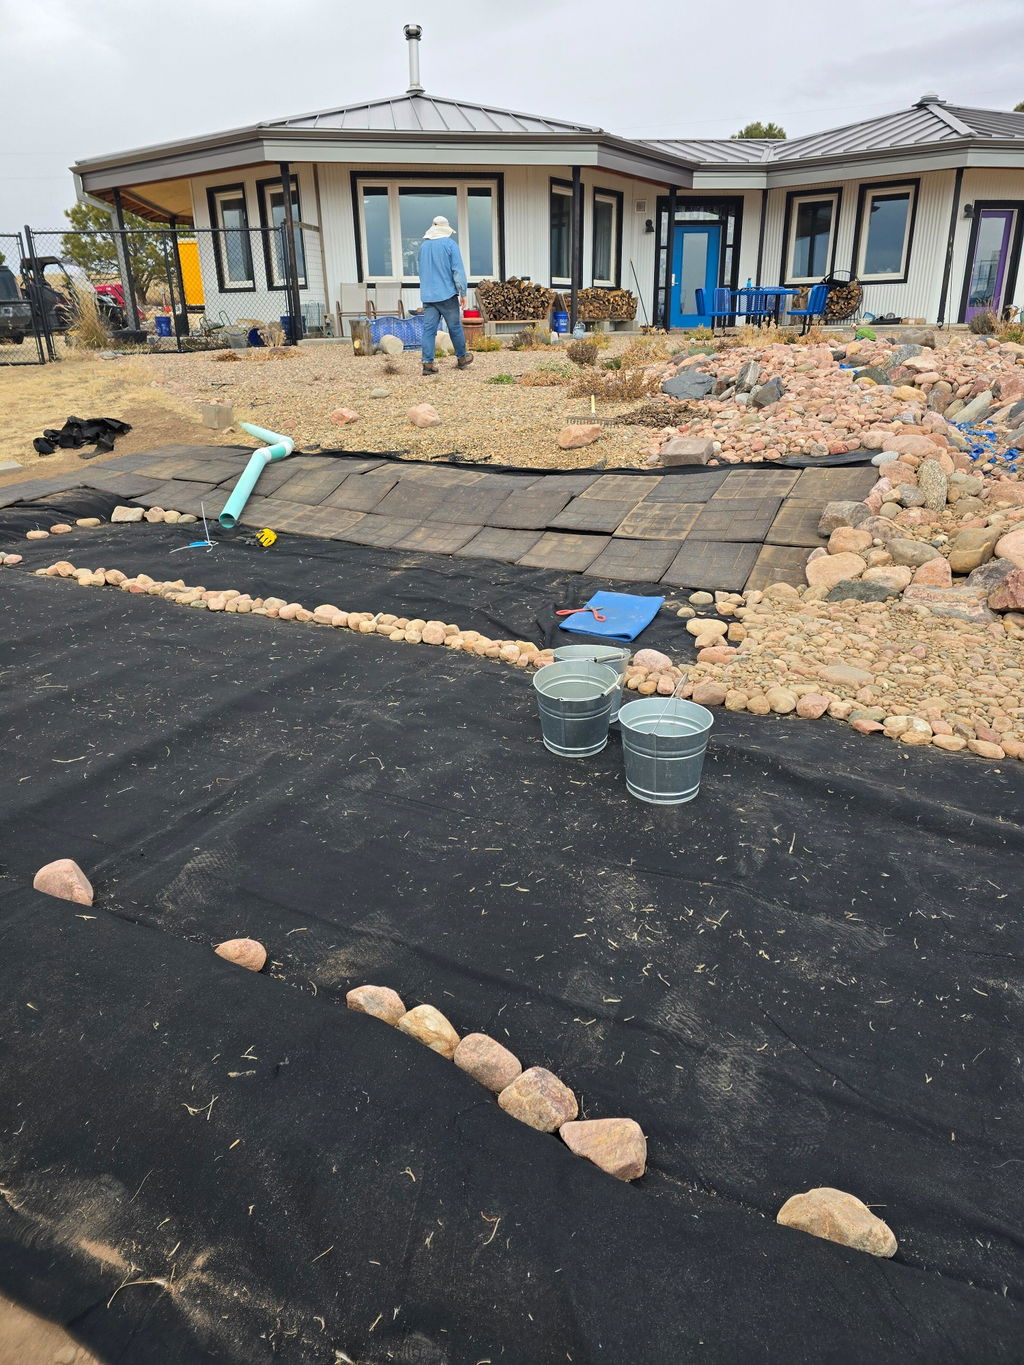
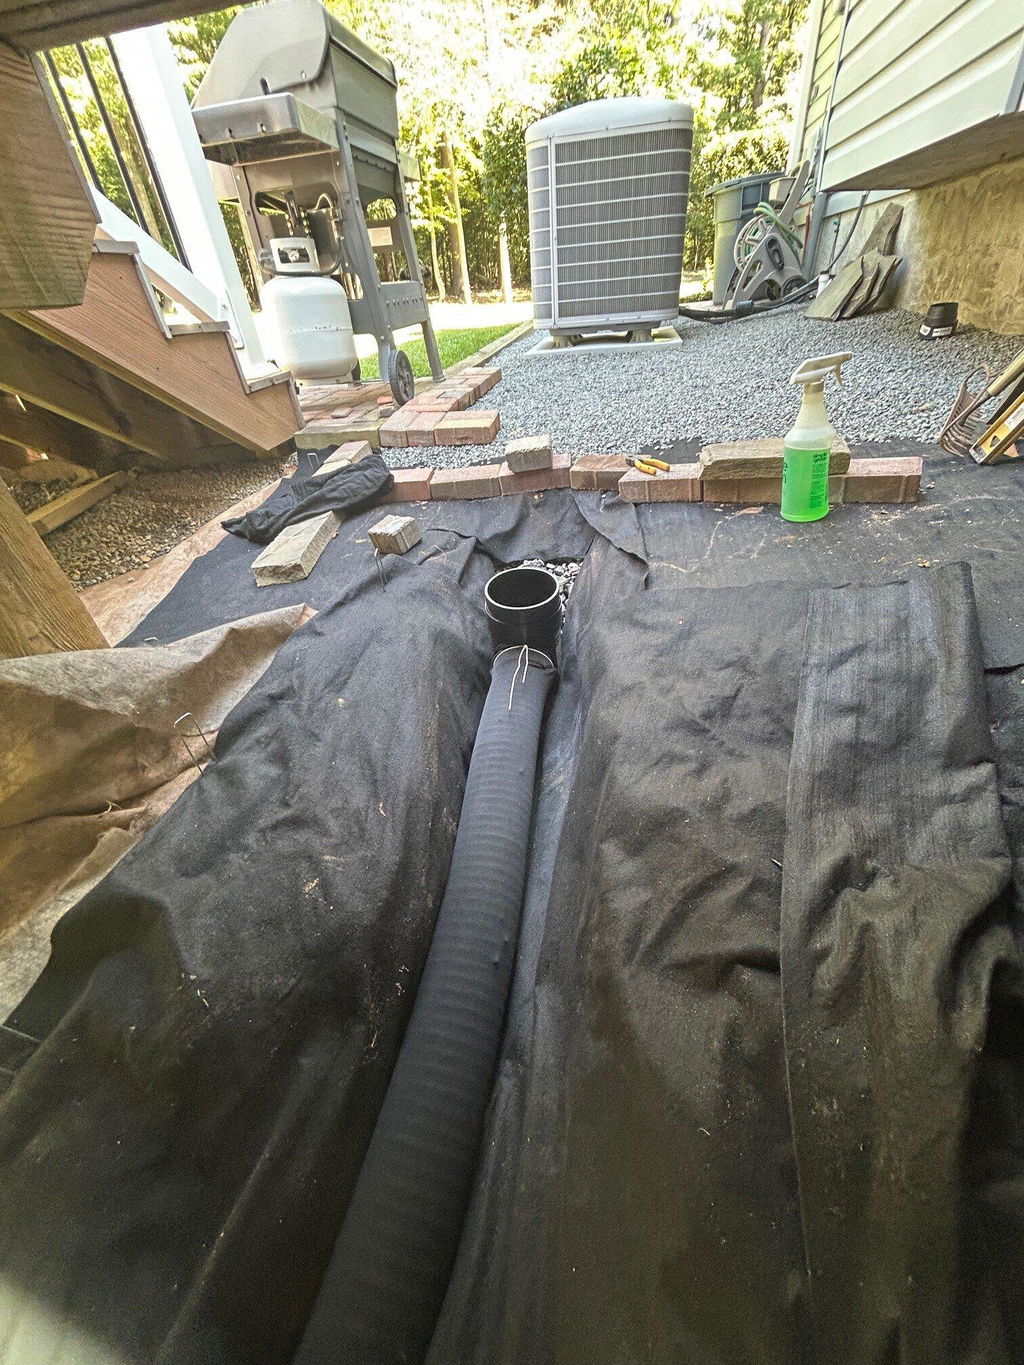
- Roll out the fabric. Overlap seams at least 6 to 12 inches so weeds can't find a gap.
- Pin it down. Use landscape pins: two at each end, then one on each edge every 5 feet, with a few extra at seams. Our pin guide helps you estimate how many you need.
- Cut holes for plants. Cut an X just big enough for the root ball, plant, then fold the flaps back around the stem.
- Cover it. Top with 2 to 3 inches of mulch or decorative stone. This protects the fabric from sunlight and looks better.
Mistakes to avoid
- Leaving fabric exposed. Sunlight breaks down any landscape fabric over time.
- Piling mulch too deep. Weed seeds can sprout in thick mulch on top of the fabric. Keep it to a few inches and pull any weeds that show up while they are small.
- Gaps at edges and seams. That is where most weeds get through.
Shop Pro Grade weed barrier. Every order ships free.